Friday, January 17, 2014

My Second Quilt

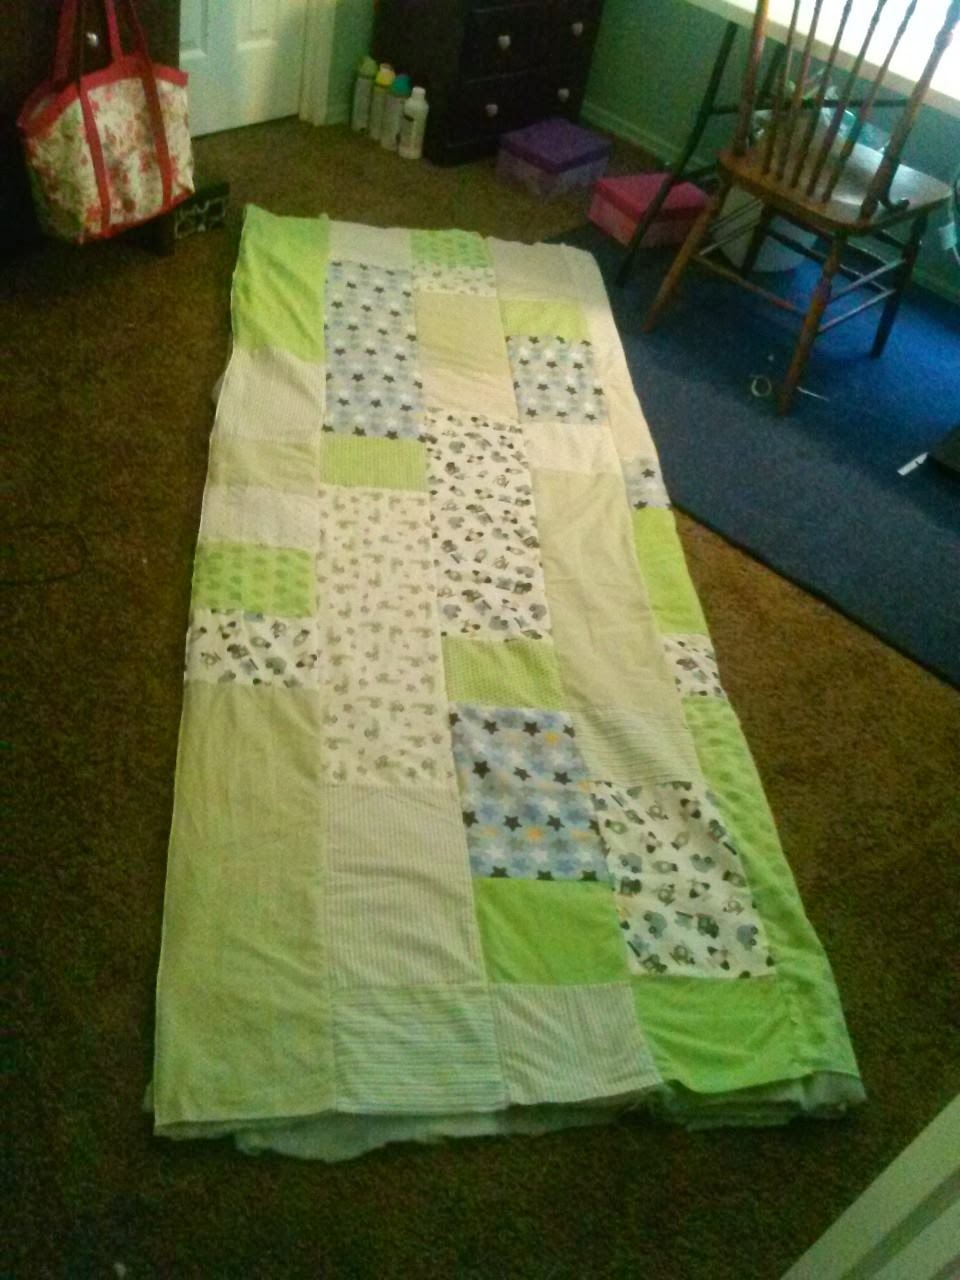
This quilt was made with so much love for my nephew.  My sister saved all his baby blankets and wanted to do something special with them.  I took them and cut them up (which was a shock lol) but I made various blocks of 9'' widths.  I think I made them in lengths of 7, 14, and 28 inch increments. I then alternated the patterns to try to get even color all over. I layered the top "quilting", a low loft batting, and a simple cotton backing.

 This is just half of the quilt


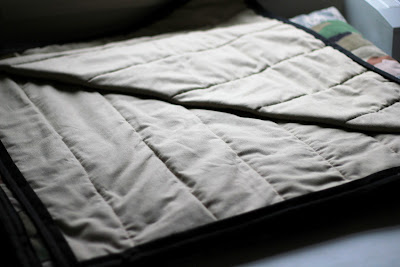
Talk about having just enough binding. 

 The only issue I had with this binding was that it was a bit on the narrow side.  Trying to stretch it over the front, batting, and a cotton backing turned out to be harder that I thought.  Next quilt I will definitely use a thicker binding, whether I buy it or make it. 

After that it was pretty much done.  It took A LOT less time to make than the ACU/BDU/DCU quilt I made.  
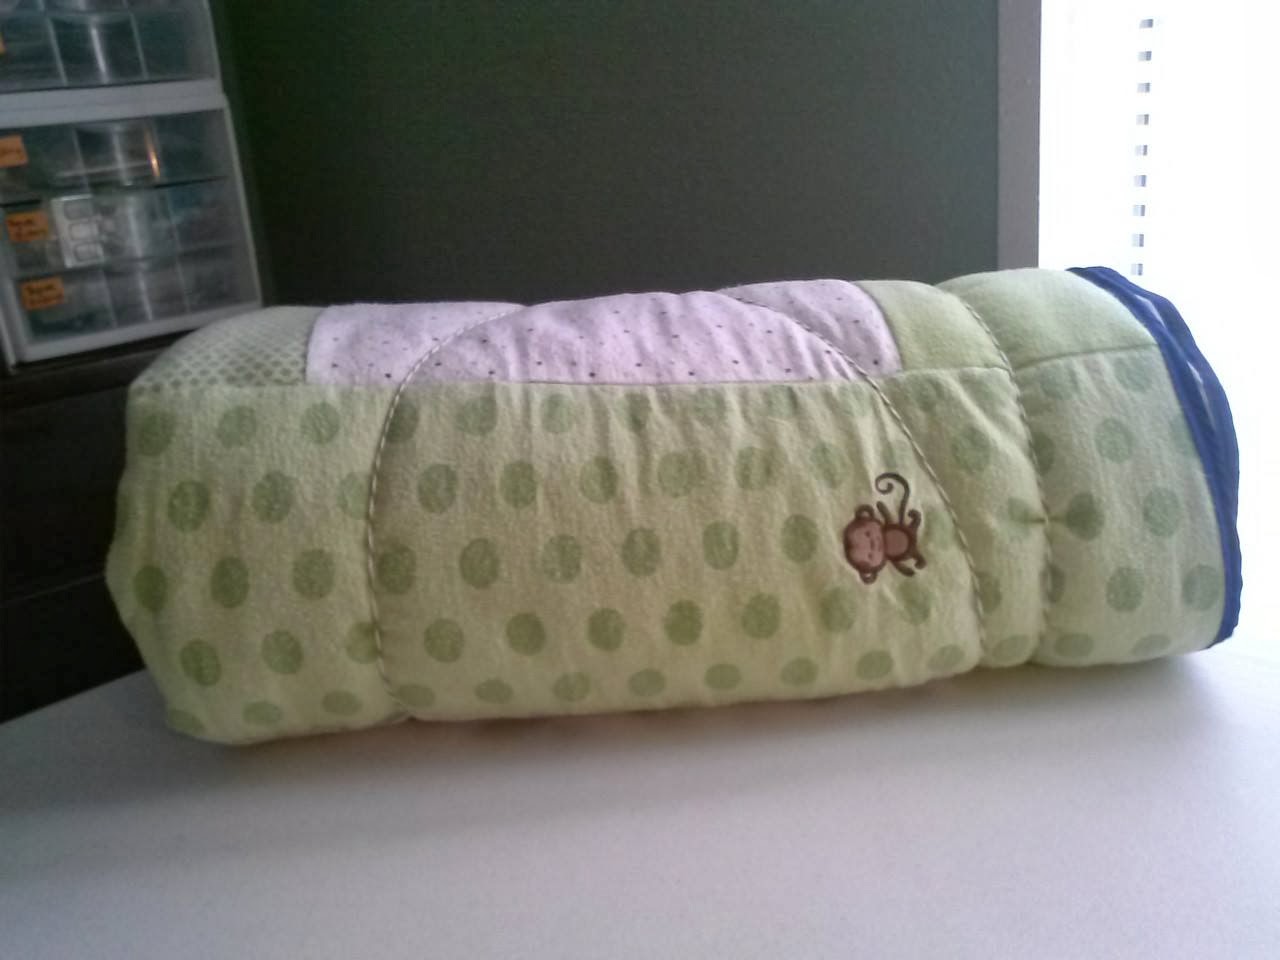
One of my nephew's blankets had an embroidered monkey on it, and since I call him "Monkey" I had to have it in the center row of his quilt.  

My sister and I decided on a gray backing because her son's middle name is a spelling variation of gray, so it was another way to incorporate him in to the quilt.  It turned out to be a full size quilt with a 13'' drop and 11'' pillow tuck.  It seems massive for him right now, but it'll be something that he can grow into, or hold onto as an heirloom. 

The Unveiling
  I went over to my sister's house one night with the finished blanket to surprise my nephew (who was just shy of 2 years old).  My sis and I got down on the ground with him and explained that Aunt Sissy (that's me) spent a lot of time making something just for him. We unwrapped the quilt, spread it out and almost immediately he pulled it over his head and played  peek-a-boo.  Over the course of the next hour, he managed to convince Momma, Daddy, and Aunt Sissy to "hide" under the blanket with him.   It was the most adorable thing ever!  He has now dubbed the quilt "Sissy blanket" and requires that Momma or Daddy snuggle with him under it every night before his bedtime. 
<3

Have a great day and a happy heart,
~Kerri Elan
First Time Making My Own Binding

So in an effort to reduce the cost of making a quilt, I searched high and low on how to make binding yourself.  I eventually found a tutorial on Pinterest that was easy peasy.  I made a few mistakes and some of my seams aren't perfect, but for the most part I think I did okay....see for yourself...
I cut several 2.5'' strips, matched up corners, sewed, trimmed, then folded and ironed them in half.
It only took me 30mins to make about 10 yards of binding. (45 mins if you include the "cut a strip, move the cat, sew a strip, move another cat, trim the strip, move a third cat, etc".)


Of course, Autumn had to put her paw print of approval on it while I was trying to iron it. (I adore that little face, it just melts a Mommy's heart)

After all was said and done, this what I had :-)

I'm so proud of myself!  I literally just learned how to sew a straight line and now I'm quilting, making my own binding, etc. YAY!!!!

BTW- Here's a tease of what I'm working on...

....oh ya did I mention that ALL of the material I'm using for it is being upcycled from previous items? YAY! Go team Green :-)

Have a great day and a happy heart!
~Kerri Elan

The First Quilt I Ever Made...And It Only Cost $18!

I originally had this posted on a previous blog I maintained. Certain life events took place which made me close that blog down.  I still want to share this particular post, as I feel it'll help inspire military wives/families/friends etc. Here's the post:

I started a quilt back in 2010 shortly after my friend deployed to Afghanistan. This was his third deployment.

I gathered some of his old uniforms that were torn or otherwise messed up...BDUs from his time at Boot Camp and AIT, DCUs from his first deployment, and ACUs from majority of his career and second deployment.  Here's a picture play by play. Sorry, not all the pictures are the best quality, but you get the idea.

I started cutting out an enormous amount of 4'' squares from pants and tops. This took forevvvverrrrrr. Thankfully I had Netflix to keep me entertained.

Miss Autumn decided to help me.

Then I alternated  DCU, BDU, ACU and sewed them together in long strips. I think I ended up making 16 strips of 22 squares. But in the end, it became a bit smaller than that. Trial and error lead to many, many trimmings.

I staggered the strips to get a diagonal affect.  They are in no way, shape, or form perfect, but it was the first time ever doing this. I know my squares and rows weren't precise, but it adds character.

No pictures for this part, but I layered the front panel, some lightweight batting, and a backing and sewed it all together. 

  I sewed long, straight rows to give it that quilted look.


This was the first time I've ever tried binding anything, and let me tell you the corners were very tricky. I think I did an okay job :-)

How both sides look finished. 

A bow to top it off. 

Overall, I'm very happy with how it came out, imperfections and all.  I think it's going to be a very warm blanket and a wonderful heirloom.

Final Costs:
Singer Futura CE-150 sewing/embroidering machine- given to me by my Mom
Old Uniforms- free from friend
Batting- free from Mom
Backing material- also free from Mom
7/8'' Binding- $3ea at Hancock, 4 packs
Thread- $3ea at the PX, 2 spools
_________________________________
$18

Have a great day and a happy heart!
~Kerri Elan

Update- So I finally got a better picture of the quilt and actually measured it. It's 56'' x 82''. 
~Kerri Elan

Random Cards

Here's just a sampling cards I've done...


All the Patriotic cards where made with Cuttlebug's Star Embossing Folder, Tim Holtz Distress Inks- Barn Door and Faded Jeans, "Soldier Calligraphy" and "Hero Sentiment" stamps from Stampabilities. 

Both Thank You cards- Paper is from Imaginsce 6x6 Garden Party Paper Pad, "Thank You" is from "So Much Thanks" by Fiskars

Thank U Stamp if from a retired Stampin' Up set, Tim Holtz Distress Ink in Barn Door and Spiced Marmalade, Martha Stewart butterfly punch, and "danke" is from "So Much Thanks" stamp set from Fiskars
The orange butterfly I applied some Distress "Rock Candy" Crackle Paint over the Spiced Marmalade, then used a homemade ink blending tool to rub some Barn Door ink into the cracks. Wiped off the excess and it gave it an awesome look.

I don't remember who's paper this is, but the butterfly is a punch from Martha Stewart

Paper is "Hopscotch Boy" Mat Pad from K & Co, Tim Holtz Distress Ink Faded Jeans and Peeled Paint

Paper is Imaginsce- 6x6 Garden Party Paper Pad

Paper is Recollections, Studio G Pigment Ink and "a little hello" is from Stampabilities "Sentiments" Cling Mount Rubber Stamps

Used Cuttlebug's Perfect Paisley Embossing folder, Tim Holtz Distress Ink in Worn lipstick, and The Paper Company's "Coffee Cafe" stamp set

Have a great day and a happy heart!
~Kerri Elan

Christmas Cards

I know it's January and the last thing anyone really wants to think about it Christmas, bbuuuttttt I was super excited about how my Winter/Holiday cards came out this past year, that I thought I would share them with everyone. Maybe some of you will find inspiration for later this year. If so, please share! I'd love to see them :-)

This was inspired by Creating Keepsakes' December Edition.

I used a retired Stampin' Up Christmas tree with Versa-Mark Embossing Ink. I think traced over the ink with Glossy Accents and sprinkled some glitter on it. Once it dried I added some blingage (I think I just made that word up) :-).

This was really fun to do. I think I made about 18 total of these with different color ribbon.  I punched out 1'', 1 1/2'', and 2'' circles and inked them with Distress Ink in Faded Jeans.  Used Studio G black glitter glue for the buttons, eyes and mouth.  I tore a piece of paper to make a mask to create the background using the color-blocking technique. I shadowed the lines with a color pencil to compliment the color of the ribbon.  Finally I used a white opaque pen to draw snowflake and went over it with Glossy accents.  

This was was fairly quick to put together.  I dry embossed the entire card from with my Cuttllebug and lightly ran my ink blending tool over with a little bit of Faded Jeans Distress Ink to pick up the design. Slapped a ribbon and snowflake embie on it and...Voila! Done!

I think this was my favorite card of the season. I literally used scraps of paper and ribbon that I had laying around.  I dry embossed the pattern paper, put some ribbons, buttons, bows and lettering on it.  Each card I made like this had a different Christmas/Winter themed word on it depending on what letters I had left. 

I was a little on the fence about this one at first.  I had bought this paper sometime ago and for the life of me couldn't get it to match anything. Well...I finally found a use for it! I just cut some triangles out of it..Inked the green pattern with red ink and the red pattern & card mat with gold ink. I found some dark red hemp to compliment the "trees" and I was done.  I received compliments from everyone I sent them to. Maybe I'll make a similar version in the future (possibly even sell some?)

Have a great day and a happy heart, 


~Kerri Elan

Paper Scrap Challenge.

Like most crafters/scrappers/card makers, I have an abundance of scrap paper.  I rarely actually flip through it all to add to current projects, so the pile just gets bigger and bigger. So one day I sat on the floor and dumped the entire tub out and sorted it by what patterns I thought looked good together. Then I made as many cards from it as I could.  It was an awesome way to use them up and not be wasteful. It actually turned out much better than I initially thought it would. Here's a few that I came up with...


Try it! You'll be amazed what you can come up with :-)

Have a great day and a happy heart,
~Kerri Elan

Congrats and Birth Announcements

My sister recently had a very handsome little boy, and I couldn't be a more excited Aunt! I made her (and her awesome husband) a congrats card, along with all the Birth Announcements. I even filled them all out so the new parents wouldn't have to take time away from their bundle of joy to do so. 

Here's The Congrats card I made her:

I dont remember what paper I used, but I do remember that I used my Cuttlebug to dry emboss the bottom portion of the card. I think it turned out adorable!

The Birth Announcements:


This is just a couple examples. I made about 6 different variations using My Mind's Eye Twinkle, Twinkle Little Boy paper pack.  I also used Stampabilities hand and foot print stamps. I love how they turned out. 

I also made a fancier version with a different paper selection. I don't remember the brand because this was made from scraps of paper I had in my stash.


Have a great day and a happy heart,
~Kerri Elan


No Sew Reusable Bag...Yes, It's Really That Easy.

If you're like me, you probably have some shirts lying around that you haven't worn in a while, but you can't bring yourself to get rid of them. Why not make them into something useful and help save the environment at the same time? Here's a play by play on how to make this fabulous bag

What you'll need:
Old tshirts- I found that small/medium cotton shirts work best
Good pair of fabric scissors
Safety Pin

Step 1-
Choose what shirt you want to use. This is the hardest step...seriously :-)


Step 2-
Cut the sleeves off. 


Step 3-
Cut two 1''- 2'' strips from the sleeves, then stretch them so that they begin to curl some. You're going to use this to tie the bottom up. 


Step 4- 
Cut a rectangle from the collar area. The size of the rectangle will be based on how thick you want your handles to be. Do you see a bag starting to appear?


Step 5-
Cut a small slit in the bottom hem of the shirt. Be sure not to cut through the hem stitching though.  I made my cut in the center of the front and repeated on the back. 


Step 6-
Attach a safety to the end of one of your strips (cut from the sleeves). Thread it through from one cut to the other.  Tie it off and repeat going in the opposite direction with your remaining strip.


This is what it should look like when you're done...

Step 7- 
Stand back and admire your green project. 


These are great for grocery shopping, traveling, the beach, etc. Because of the two small holes at the bottom they're not ideal for small objects, but they're great for anything else. 

Have a great day and a happy heart!
~Kerri Elan